The raspberry pi 3B doesn’t present /sys/class/leds/PWR when you’re running the upstream kernel rather than the raspberry pi foundation’s official fork. You get /sys/class/leds/ACT which controls the green LED correctly, but no PWR entry for the red one. You’ll also see that dtparam=pwr_led_trigger=none and related commands that you are advised to add to config.txt do nothing.
This is because the upstream device-tree simply doesn’t have an entry for it, as it’s implemented weirdly in the hardware. The fix is to define it yourself. Click here to skip to the code, or read on for an explanation.
On the left, smooth and stable. On the right, flickering and janky.
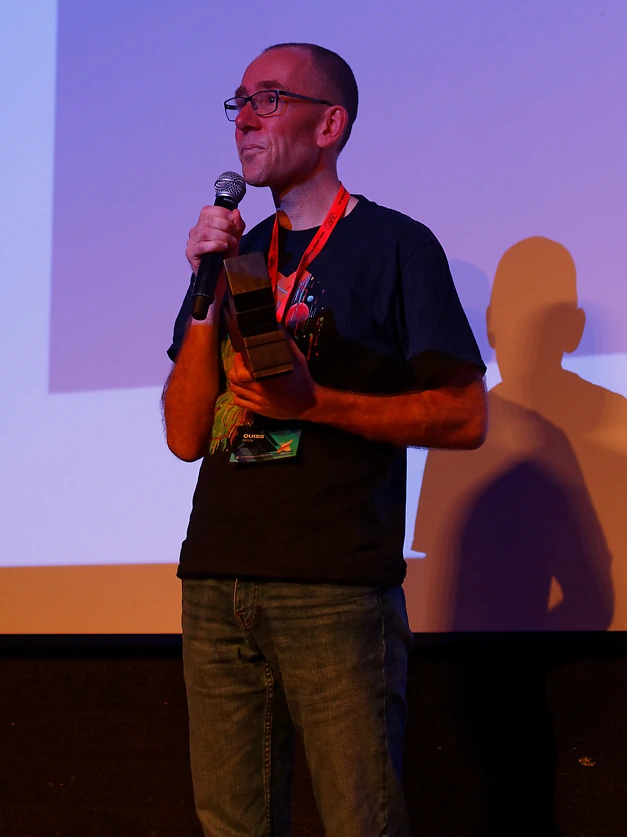
Matthias with his trophy
On the 3rd of June 2023, at the X demoparty in Someren in the southern Netherlands, quiss aka Matthias Kramm presented Boo as his entry in the C64 4K Intro category. You can watch it on YouTube here. While the demo mainly featured a couple of spinning cubes, the edges of those cubes were drawn using a new algorithm he calls “Bit-Reversal Rendering”. This brought the number of CPU cycles needed to plot each pixel of a line on a Commodore 64 down from 7 to 5, reducing the overhead on a number of key graphical effects. This earned him first place, and the adoration of the assembled demosceners.
There are maybe half a dozen line plotting methods in existence and most of them date back to the cold war, so presenting a brand new one as a 4 kilobyte C64 intro that does parallel processing on the floppy disk controller is pretty cool.
Of more general interest though, is the better temporal stability of this algorithm in comparison to others, which can be seen in the above animation.
He later published details of how the algorithm works, but didn’t include an implementation. In this article I provide such an implementation, along with some further notes and explanations. I have also reproduced his animations in interactive form, and at the end I’ll show a new variation of the function I came up with.
The five algorithms from this article frolicking in their natural habitat. Can you tell which one is which?
If you’ve ever tried making your own roguelike, you’ve likely encountered all sorts of strange-looking 1960s algorithms for doing geometry. Bresenham’s line algorithm is the most famous, but you often see people talking about “DDA lines” among other things. Hopefully, you found your way to the excellent Red Blob Games article on the subject, which describes a modern implementation in detail, with lovely interactive examples.
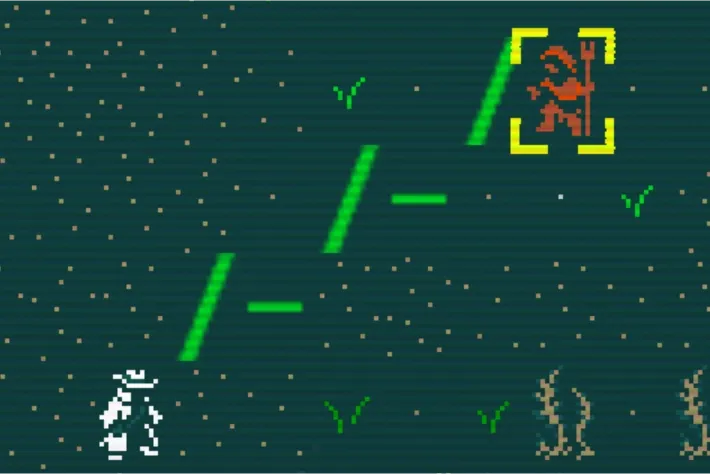
A line algorithm used to menace an innocent watervine farmer

Perhaps this left you with unanswered questions. These vintage functions look so different from each other, but they all seem to do the same thing!
This post is structured as an ahistorical journey back through time. We start with the floating point algorithm given by Red Blob, which is optimal on modern computers, and end at Bresenham’s 1962 algorithm which uses pure integer arithmetic, as was optimal on the hardware of the day. We can then consider the other functions as steps along our imagined refactoring process, replacing floats piece by piece with integers.
The aim is to present these functions in a unified style so they can be easily compared, and to try and give a little intuition as to what is going on with the geometry.
Stepping through bad RNG configurations. PureRNG will of course produce pure white noise :)
Anyone who considers arithmetical methods of producing random digits is, of course, in a state of sin.
— John von Neumann, 1949
PureRng, my newest creation, is a random number generator library for rust. The twist is that each generator gets consumed after outputting a single value. To get a new value you must instantiate a new generator, with a new seed. A nice API is provided to ensure this isn’t as much hassle as it sounds - a hash function is employed to generate seeds from arbitrary data.
Below is the configuration.nix, with notes on how this all works after the fold:
{lib,pkgs,modulesPath,...}:{imports=[# This module installs the firmware"${modulesPath}/installer/sd-card/sd-image-aarch64.nix"];nix.settings={# This is needed to allow building remotelytrusted-users=["YOUR_USERNAME"];# The nix-community cache has aarch64 builds of unfree packages,# which aren't in the normal cachesubstituters=["https://nix-community.cachix.org"];trusted-public-keys=["nix-community.cachix.org-1:mB9FSh9qf2dCimDSUo8Zy7bkq5CX+/rkCWyvRCYg3Fs="];};nixpkgs={hostPlatform="aarch64-linux";config={allowUnfree=true;};};# These options make the sd card image build fasterboot.supportedFilesystems.zfs=lib.mkForcefalse;sdImage.compressImage=false;networking={# Set your hostnamehostName="YOUR_HOSTNAME";useNetworkd=true;};# Replace networkd with NetworkManager at your discretionsystemd={network={enable=true;networks."10-lan"={# This is the correct interface name on my raspi 4bmatchConfig.Name="end0";networkConfig.DHCP="yes";linkConfig.RequiredForOnline="routable";};};};# Add your username and ssh keyusers.users.YOUR_USERNAME={isNormalUser=true;extraGroups=["wheel"];openssh.authorizedKeys.keys=["YOUR_SSH_PUBLIC_KEY"];};# Our user doesn't have a password, so we let them# do sudo without onesecurity.sudo.wheelNeedsPassword=false;services={openssh.enable=true;};# Set your timezonetime.timeZone="YOUR_TIMEZONE";environment.systemPackages=withpkgs;[libraspberrypiraspberrypi-eeprom];hardware.enableRedistributableFirmware=true;system.stateVersion="24.11";}
function current_dir(){local current_dir=$PWDif[[$current_dir==$HOME]];then
current_dir="~"else
current_dir=${current_dir##*/}fi
echo$current_dir}function change_tab_title(){local title=$1command nohup zellij action rename-tab $title>/dev/null 2>&1
}function set_tab_to_working_dir(){local result=$?local title=$(current_dir)# uncomment the following to show the exit code after a failed command# if [[ $result -gt 0 ]]; then# title="$title [$result]" # fi
change_tab_title $title}function set_tab_to_command_line(){local cmdline=$1
change_tab_title $cmdline}if[[-n$ZELLIJ]];then
add-zsh-hook precmd set_tab_to_working_dir
add-zsh-hook preexec set_tab_to_command_line
fi
Not actually the running process, but the last command line. This does unfortunately add a couple of milliseconds of lag but it’s fairly imperceptible. If you can make this happen faster, please comment on the gist.
Tailscale doesn’t allow you to select a different UDP port for the connection to the mullvad node! It’s hardcoded to port 51820.
This is in contrast to the official mullvad client, which lets you use port 53 or a custom port of your choice.
If you’re using this feature in the mullvad client to tunnel out of a network which blocks common VPN ports like 51820, the tailscale integration won’t work! And there will be nothing you can do about it. Tailscale’s relay network doesn’t come into play here, the client just seems content to leave your machine unable to route any packets at all. Presumably there is debug logging to be found somewhere.
I’ve released a rust crate called cargo-open. It provides a handy cargo subcommand that opens an installed crate’s directory in your $EDITOR. It’s modelled on bundle open from Ruby’s Bundler.
To install it, run:
cargo install cargo-open
Then:
cargo open crate-name
Note that this is meant for inspecting a crate’s contents, making changes is not a good idea.