Writing a custom camera for Ocarina of Time
I’ve been having a lot of fun recently playing through the Ocarina of Time PC port. Released March 2022, it’s accumulated a lot of nice enhancements as open source ports tend to do. It runs in 60fps with the viewport scaled to the resolution and aspect ratio of your choice. There’s a host of gameplay tweaks, and the option to use a freely orbiting camera controlled by the right analog stick, as seen in modern games.
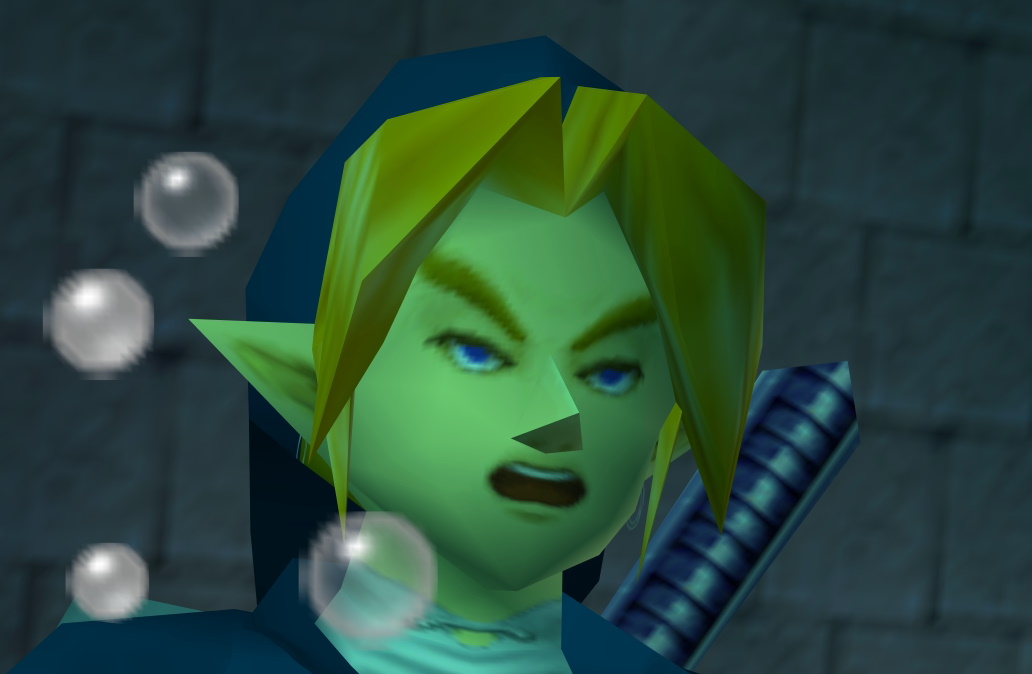
During my playthrough I was pondering what enhancements of my own to add, and after vanquishing Ganon in 4k I decided the free camera would be most impactful thing I could improve.
It orbits at a fixed distance (controllable in the settings,) and while it was fun to navigating the game with a wider camera angle at a higher vantage point, I found myself wanting the lens to swing close to link when it was down parallel to the ground.
After a bit of research, I decided to have the camera move in a curve from a position behind and just below link’s head, to a position high above him.
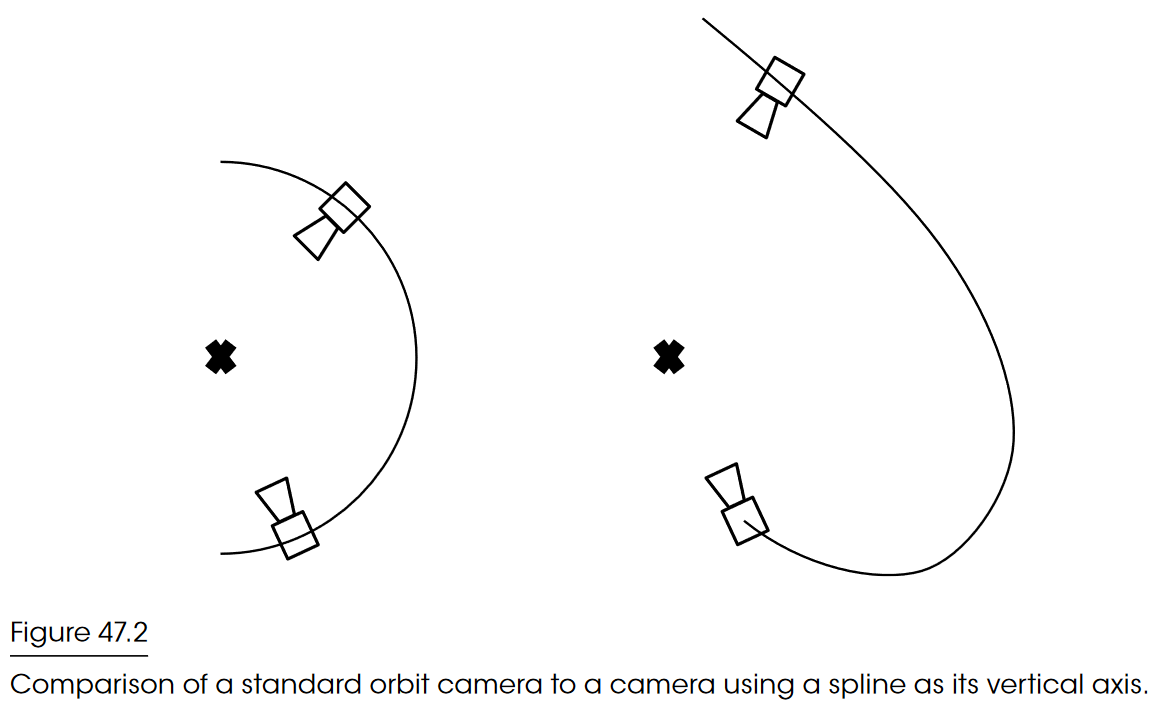 This is shown on the right (seen side-on) in a diagram from the camera chapter in Game AI Pro.
Note that the diagram shows a spline. I’ve used a cubic bezier instead, to keep things simple.
The existing freecam code uses polar coordinates to have the camera orbit the focal point (link’s head.) The analog stick X and Y values are added to the pitch and yaw of that rotation (quaternion I think it’s called? It’s a 4 vector) directly. The radius is set to the configured camera distance value.
In my new implementation, the yaw is set the same way as before, directly from the controller. I define my four bezier points relative to link, and get the new camera position using the bezier function, setting t to the analog Y axis. Presto!
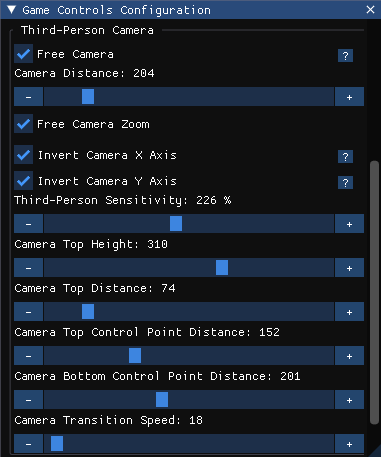 The SoH UI toolkit made it super easy to create new sliders in the camera config UI and to bind these to values in a manner similar to unity. This was useful not only for experimenting with different curve shapes once I had everything working, but also fantastically helpful in learning and exploring the different functions in the OOT engine.
I bound a bunch of different sliders to lots of different parameters and through trial and error was able to map out what most of the moving parts did in this crazy code from a quarter century ago. This interactive approach was way faster than peering at numbers in the debugger.
I’m confident that I would have made zero progress had I done it that way, and instead I managed to get a working solution in a couple of afternoons, along with a newfound intuition about how to define and navigate 3D spaces programmatically. In the end I plugged in the numbers and it worked first time. I could hardly believe it.
The branch is here if you want to take a look. It’s in pretty rough shape at the time of writing. Here are some things still to address:
-
Smoothly interpolate the camera coordinates. At the moment it snaps to the new position every frame, which doesn’t feel very nice.
-
When the free camera is reengaged, eg. after a cutscene, we have to update our camera controller to match the new position the game has left it in. Basically our camera-moving function but backwards. Without this, the camera snaps back to the whatever Y position we had it in before.
Before this was easy to fix, as we just need a polar coordinate pointing from the camera to link, which we can find very simply. Now we need the closest point on our bezier to the camera. This isn’t simple to get mathematically, which is why I’m planning to brute force it with a search algorithm instead.
-
A simplified set of UI controls to define the curve, relative to the character model (his height changes between adult/child.)
-
Join multiple beziers together to make a spline. This would allow for better, more configurable curve shapes. The math required is nontrivial though.
-
It would be nice to have the camera slowly pan back to behind link when he’s moving, as seen in modern games. The focal point could perhaps be put in front of his nose, rather than inside his skull as it is now.
-
Add freecam to the lock-on camera?
Overall this was a really fun project, that yielded results very quickly. If you’re still reading this, you’ll definitely want to check out the github repo for the port, as well as the OOT decomp project it was based on.